

After last week’s veg-centric post on the wonders of cauliflower, I’d like to go to the meat side for something quite different, but no less healthy. If cauliflower can be considered brain food, then perhaps the subject of this post, bone broth, could be thought of as gut food, given its well-established gut-healing properties. However, to leave it at that would be selling it short, as it contains a myriad of health benefits. But before I elaborate further, let me step back a second.
What is bone broth? At its most simplistic level, it’s just boiled bones. But isn’t that just stock, you may ask, like the stuff that comes in little cubes from the supermarket? Well, not quite. They share some similarities, but in reality they’re a world apart. Stock cubes, and even most liquid stock, bought in shops have a lot of added flavouring but none of the natural goodness that comes with slow-cooking bones for long periods of time. I might add that, technically, stock is made from bones and connective tissue, whereas broth is the liquid that meat has been cooked in. However, for some reason, bone stock is more commonly referred to as bone broth. If you know why this is, please leave a comment below. For the purpose of consistency, let’s call it bone broth.
Why bone broth? Let’s start with the health benefits.
- Have you ever heard chicken soup referred to as Jewish Penicillin? If so, it’s because it’s been used for ages to help cures colds and ills. But what is it in the soup that gives it this reputation: the bones! Or rather, what’s in the bones that gets transferred to the broth over the long cooking time. For one, there’s a natural amino acid called cysteine, which can thin the mucus in your lungs and make it less sticky, enabling it to be expelled more easily.
- Then there are the minerals: calcium, magnesium, potassium, and phosphorus for starters. All stuff your body needs, and bone broth delivers them in an easily-absorbable package.
- Do you have joint issues? Throw away your glucosamine + chondroitin tablets, as the collagen in bones, tendons, ligaments, and other flexible tissues, is broken down during the cooking process into gelatin, which gives your body the raw materials to rebuild your own connective tissue, especially tendons and ligaments. It also enhances your skin, nails and hair – my wife swears by it!
- I mentioned gut food previously. This is because bone broth contains both Glycine and Glutamine, two amino acids that can really help rebuild your gut lining.
I could go on and on. If you want to read a bit more about the health benefits of bone broth, check out the following articles, or just Google bone broth. There’s loads of great stuff out there on it.
Eat This:Bone Broth
Bone Broth—One of Your Most Healing Diet Staples
Bone Broth Benefits for Digestion, Arthritis and Cellulite
Finding good quality bone broth in shops can be a tricky affair. Some good butchers sell it, and there’s even a restaurant in NYC called Brodo which specialises in it, but the best way to get hold of it is to make it yourself. Fortunately it’s really easy! This is especially the case if you have a slow cooker, and if you don’t, I recommend you get one. They are pretty cheap and very useful. Some, like the one I have, are actually rice cookers with added slow cooking features. Bonus! You can make your broth in it, and then use the broth to make your rice. But I’ll go more into how you can use your broth later.
First you need some bones. Any kind will do. Beef, lamb, pork, chicken, fish, whatever. You don’t have to limit your broth to one type, either. You can mix them, too. It’s important that you start with good quality bones. Ideally organic, and if beef, from cows that have been grass-fed. If you’re wondering why grass-fed, check out this trio of articles that I also referenced in my beef jerky post:
The Differences Between Grass-Fed Beef and Grain-Fed Beef
Why Grass-Fed Animal Products Are Better For You
Why Grass-Fed Trumps Grain-Fed
So where do I get my bones? From several places. First, whenever I cook up a roast, be it lamb shoulder, pork belly, chicken, etc., I save any bones. Wrapped up well, they can be stored in the freezer for a really long time until you’re ready to use them, so don’t throw them out! If I don’t have any bones on hand, I’ll get some from my local butcher. I’m fortunate to have two nearby, M. Moen & Sons and The Ginger Pig, that sell really good quality meat. They will sell bones for cheap, or even give some away for nothing in some cases. Sometimes I order meat online from Donald Russell, based in Scotland, as they sell grass-fed (though not organic) beef at good prices, and if requested, they will throw some bones into an order for no extra charge.
If you are getting bones from the butcher, try to get ones that will fit in your slow cooker or stock pot. Trust me, I’ve slogged away with a hacksaw cutting up big beef leg bones, and it ain’t easy. If in doubt, ask the butcher to cut them for you, as they’ve got the right tools for the job! Also, if you can, try and get some joint bones, as the connective tissue in them is extra good for you. Makes your broth really thick, too, because of the amount of collagen which, if you’ve been paying attention, turns into gelatin.

For this batch, I’ve used a combination of lamb ribs from the butcher, beef off-cuts, and some leftover chicken bones from a roast.
Some people like to first roast the bones in a really hot oven, say 250C/450F, for 20 minutes or so to brown them and render any fat off them. I’m a bit lazy, and not afraid of a little fat, so I usually skip this step. Place the bones in the slow cooker and fill it with water. If you have any veg bits that you’re not keen on eating, such as carrot tops, cauliflower leaves, etc., you can add those too. Just give them a rinse first. You can also add some seasoning here if you like. I tend to use my bone broth as part of other recipes which call for their own seasoning, so I don’t add much. A few peppercorns and a couple of bay leaves are pretty much it. You can opt for adding onions and garlic, as they add nice flavour. I also add a couple of spoonfuls of vinegar, as supposedly it helps leach the nutrients out of the bones. One ingredient that I started adding recently is dried seaweed, as it’s got loads of minerals and good stuff that we don’t normally get enough of. I suppose it might add a touch of salty goodness as well.
I tend to start the slow cooker off on a high heat setting for the initial hour of cooking, especially if I haven’t roasted the bones first. This isn’t essential, but for some reason I feel better knowing that I’ve boiled everything a little first to kill any unwanted bacteria. Then I turn it down to a low heat, and leave it be for 24 hours (for chicken or other small bones) to 48 hours (for chunky beef and lamb bones). The nice thing about using a slow cooker instead of the hob, is that (with the exception of the initial boiling period) it won’t stink up your house with meat smells for days. Also, you don’t have to worry about the liquid boiling off or the gas flame accidentally going out.
When it’s ready to go, strain the liquid into a storage container and chuck out whatever’s left. If you’ve got pets, you can give them a treat with any meaty bits that have come off the bones. You can now either use the broth right away, or (once cooled) freeze it for later use. I usually freeze half of mine. It’s worth noting that the cooled broth will often have a layer of congealed fat on it. You can either skim this off and use it for cooking, or throw it out if you’re a bit fat-phobic. But remember, this is good fat. Saturated fat has been demonised for years, but people are now getting hip to the misinformation we’ve been force fed by governments in bed with big food companies. Read more here or here.
So, I’ve now got all this bone broth, what do I do with it? Plenty!
- It makes a great base for soup. I make a weekly pot of veg soup, using broth in place of, or in addition to water. It makes the soup much richer, tastier, and healthier. I could do an entire post about soups, and perhaps I will at some point. Watch this space.
- Use it in place of water to cook grains. Your rice, barley, quinoa, etc., will taste sooo much nicer.
- Add it to casseroles or sauces which need liquid. A mixture of bone broth and wine (or port or vermouth) does wonders for a hearty stew.
- Make gravy with it. You’ll need to season it, and thicken it a bit with flour or corn starch, but it’s dead easy.
- Drink it as a hot beverage on a chilly day. I usually season it with a bit of soy sauce, but you can add whatever you like.
- Bathe in it! Okay, I’m kidding with this one. Bone broth is best taken internally.
So there you have it. Bone broth is tasty, healthy, versatile and cheap. The only excuse you’ve got for not using it is if you’re a vegetarian. And if so, I’m afraid you’re really missing out. Ah well, more for the rest of us.
Until next time…

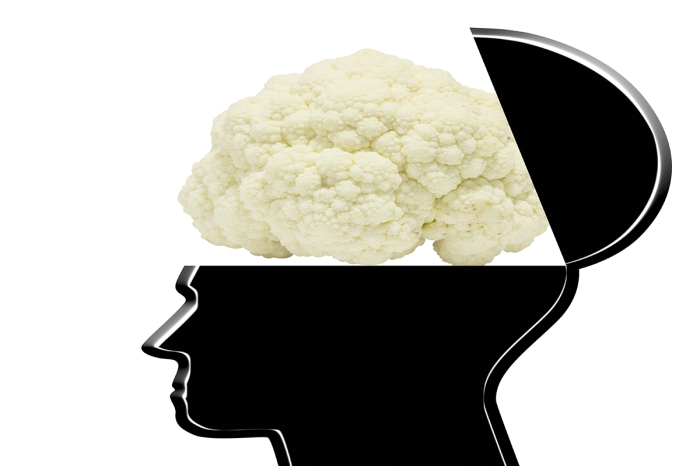 Why ‘Brain food’, you may ask. Well, this post is about cauliflower, so the name works on several levels. First, cauliflower is brain food because it’s a good source of choline, a B vitamin known for its role in brain development. But in addition to that squidgy mass in your melon, cauliflower also benefits your heart and digestion, can help fight cancer, reduce inflammation, and all sorts of other good stuff. You can find more details
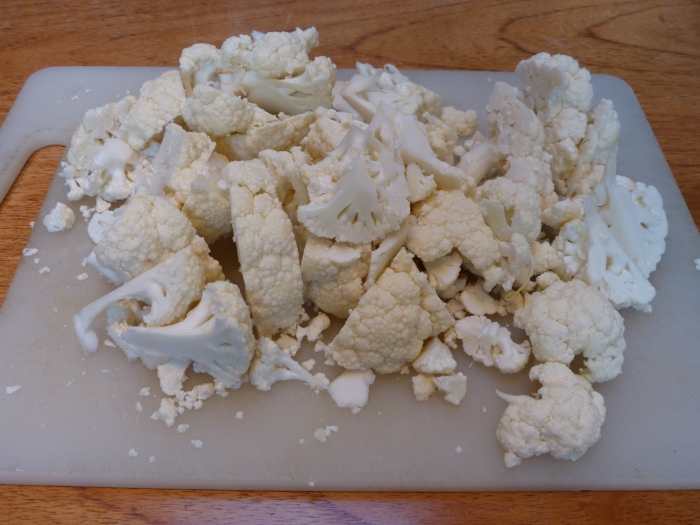


 Stir in the ground almonds, egg, oregano, and salt and pepper to taste. Line a baking tray with baking parchment and grease with oil or butter. Mound the cauliflower mix into the centre of the tray, then use a spoon and your hands to spread out into a round. (Or be a rebel and make it a rectangle.) I’d aim to make it approximately 2-3 cms/ 1/8″ thick.
 Bake for 15-20 mins until golden brown and starting to crisp a little at the edges. Again, the timing will depend a lot on your oven, as well as how thick you’ve made your crust. The BBC recipe doesn’t say this, but I’ve had good results flipping the crust over when it’s nicely browned on one side, to ensure it’s set all the way through. You’ll have to be quite gentle if you do this, though, to keep it from falling apart.
 Pour in the chopped tomatoes and tomato purée, and leave to simmer gently for a little while. Keep an eye on it, giving it a stir now and then. You want the sauce to get nice and thick, which can take anywhere from 10-30 minutes. Make sure to give it a taste, and add salt and/or pepper as needed.


